Air Quality Monitoring Project using NodeMCU, DHT11 and Mq135 Sensor

By Harshvardhan Mishra Feb 11, 2024
Air Quality Monitoring Project using NodeMCU, DHT11 and Mq135 SensorAir Quality Monitoring Project using NodeMCU, DHT11 and Mq135 Sensor

This project sends temperature and humidity and Air quality data from DHT11 Sensor and Mq135 Sensor, using ESP8266 and send it to Cloud Server. We share a Arduino sketch and other essential information about project in this article.

Air Quality Monitoring

“Air Quality Monitoring” is like checking the air to see if it’s clean or dirty. It involves using special tools and machines to measure things like pollution, dust, and gases in the air. This helps us know if the air we breathe is healthy or not.

By keeping an eye on air quality, we can protect ourselves from harmful effects like breathing problems and illnesses. Governments and scientists use this information to make decisions about things like pollution control and public health. So, air quality monitoring is crucial for keeping our air clean and safe to breathe.

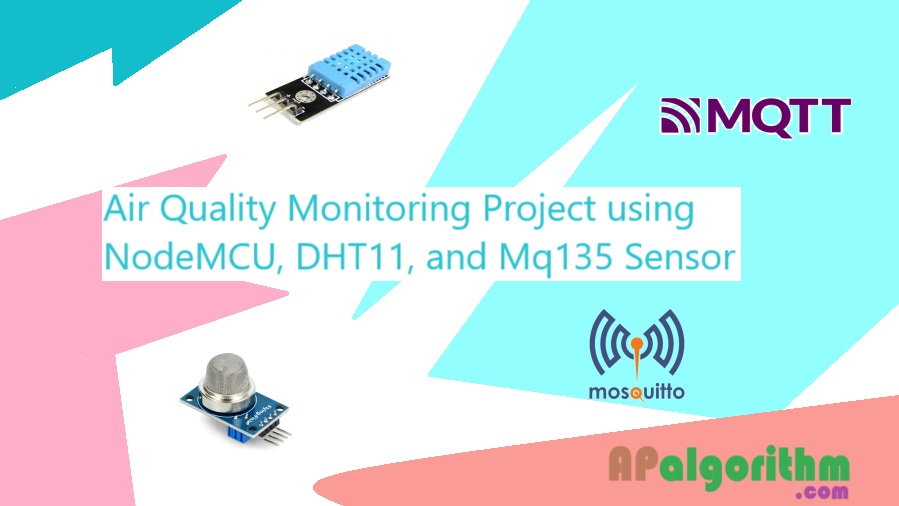
In this project, the DHT11 sensor measures temperature and humidity levels in the air. This data helps monitor comfort levels and detect changes that could affect health or equipment.

The MQ135 sensor is used to detect various harmful gases like ammonia, carbon monoxide, and benzene. It helps ensure air quality by alerting when pollutant levels rise, enabling timely action to protect health and the environment.

DHT 11 and MQ135 Sensor

Combining the DHT11 and MQ135 sensors in air quality monitoring projects enhances the accuracy and comprehensiveness of data collection. The DHT11’s ability to measure temperature and humidity levels provides a holistic understanding of environmental conditions, while the MQ135’s detection of hazardous gases adds a layer of safety and risk assessment.

Moreover, the versatility and affordability of these sensors make them accessible for various applications, from home-based monitoring systems to industrial-scale environmental monitoring projects. By harnessing the capabilities of the DHT11 and MQ135 sensors, stakeholders can make informed decisions, implement targeted interventions, and ultimately contribute to improving air quality and public health outcomes.

MQTT Cloud Server

An MQTT cloud server serves as a centralized hub for managing and exchanging data in IoT (Internet of Things) applications. MQTT, or Message Queuing Telemetry Transport, is a lightweight messaging protocol designed for efficient communication between devices in low-bandwidth, high-latency, or unreliable network environments.

The MQTT cloud server acts as a broker, facilitating the exchange of messages between IoT devices, sensors, and applications. It allows devices to publish data (such as sensor readings or device status updates) to topics and subscribe to topics to receive relevant information. This decoupled publish-subscribe model enables asynchronous communication, meaning devices don’t need to be constantly connected to each other to send or receive messages.

One of the key advantages of using an MQTT cloud server is scalability. It can handle a large number of devices and messages, making it suitable for IoT deployments of varying sizes. Additionally, MQTT’s lightweight nature reduces bandwidth and power consumption, making it ideal for resource-constrained devices.

Furthermore, MQTT cloud servers often provide additional features like data storage, security mechanisms, and integration with other cloud services, enabling developers to build robust and scalable IoT solutions. Overall, MQTT cloud servers play a critical role in enabling efficient and reliable communication in IoT ecosystems.

Implementation of Encryption

In this project, encryption is implemented using AES (Advanced Encryption Standard), a widely adopted symmetric encryption algorithm known for its security and efficiency. AES encrypts data in blocks, transforming plaintext into ciphertext using a secret key, making it unreadable to unauthorized parties. By employing AES encryption, sensitive information such as sensor readings and communication between devices is safeguarded, ensuring confidentiality and integrity throughout the data transmission process. This robust encryption mechanism adds an essential layer of protection to the project, enhancing security and mitigating the risk of unauthorized access or tampering.

How it work and Make this Projects

If you are familiar with NodeMCU, Arduino IDE and MQTT Cloud Server then you can develop this project easily. Please follow given below steps:

1.Install all required libraries.

2.Edit SSId and password.

3.Edit MQTT broker Address

4.Now Flash code in the ESP8266 and Receive data by Mqtt Client (Subscriber).

You can explore Github Repo also.

Arduino Sketch

#include <ESP8266WiFi.h>
#include <MQ135.h>
#include <PubSubClient.h>
#include <ArduinoJson.h>
#include “dht.h”
#include “Base64.h”
#define ANALOGPIN A0
#define dht_apin D5 // Analog Pin sensor is connected to
#include “AES.h”
AES aes;
dht DHT;
const char *ssid = “SSID”;
const char *password = “password”;
const char *mqttServer = “IP Address of cloud server”;
const int mqttPort = 1883;
const char *mqttUser = “user”;
const char *mqttPassword = “password”;
String devId = “5b59a30a0f7e613d2b4548f7”;
String custId = “5b574235ceebec3db3cd130c”;
String topic = “aqms/” + devId + “/aq”;
String topic1 = “aqms/” + devId + “/hd”;
char b64data[1024];
byte iv[N_BLOCK];
//byte key[] = { 0x2B, 0x7E, 0x15, 0x16, 0x28, 0xAE, 0xD2, 0xA6, 0xAB, 0xF7, 0x15, 0x88, 0x09, 0xCF, 0x4F, 0x3C };
byte key[] = {0x6A, 0x31, 0x71, 0x77, 0x6E, 0x35, 0x79, 0x76, 0x38, 0x65, 0x6C, 0x64, 0x61, 0x73, 0x73, 0x61};
// The unitialized Initialization vector
byte my_iv[N_BLOCK] = {0, 0, 0, 0, 0, 0, 0, 0, 0, 0, 0, 0, 0, 0, 0, 0};
uint8_t getrnd()
{
    uint8_t really_random = *(volatile uint8_t *)0x3FF20E44;
    return really_random;
}
// Generate a random initialization vector
void gen_iv(byte *iv)
{
    for (int i = 0; i < N_BLOCK; i++)
    {
        iv[i] = (byte)getrnd();
    }
}
WiFiClient espClient;
PubSubClient client(espClient);
MQ135 gasSensor = MQ135(ANALOGPIN);
void setup()
{
    // put your setup code here, to run once:
    Serial.begin(9600);
    delay(100);
    pinMode(2, OUTPUT);
    Serial.println();
    WiFi.begin(ssid, password);
    int i = 0;
    while ((i <= 10) && (WiFi.status() != WL_CONNECTED))
    {
        delay(500);
        Serial.print(“.”);
        i++;
    }
    Serial.println();
    Serial.println(“WiFi connected”);
    Serial.println(“IP address: “);
    Serial.println(WiFi.localIP());
    client.setServer(mqttServer, mqttPort);
    client.setCallback(callback);
    while (!client.connected())
    {
        Serial.println(“Connecting to MQTT…”);
        if (client.connect(devId.c_str()))
        {
            Serial.println(“connected”);
        }
        else
        {
            Serial.print(“failed with state “);
            Serial.print(client.state());
            delay(2000);
        }
    }
    client.subscribe(“sendData”);
}
void callback(char *topic, byte *payload, unsigned int length)
{
    Serial.print(“Message arrived in topic: “);
    Serial.println(topic);
    Serial.print(“Message:”);
    for (int i = 0; i < length; i++)
    {
        Serial.print((char)payload[i]);
    }
    Serial.println();
    Serial.println(“———————–“);
}
void loop()
{
    //  Serial.println(” IV b64: ” + String(b64data));
    DHT.read11(dht_apin);
    // put your main code here, to run repeatedly:
    float rzero = gasSensor.getRZero(); //this to get the rzero value, uncomment this to get ppm value
    // float ppm = gasSensor.getPPM();     // this to get ppm value, uncomment this to get rzero value
    float ppm = gasSensor.getCorrectedPPM(DHT.temperature, DHT.humidity);
    DynamicJsonBuffer jsonBuffer;
    JsonObject &accRec = jsonBuffer.createObject();
    accRec[“aq”] = ppm;
    accRec[“t”] = DHT.temperature;
    accRec[“h”] = DHT.humidity;
    accRec[“dId”] = devId;
    accRec[“cId”] = custId;
    String AccData = “”;
    accRec.printTo(AccData);
    char * EncryptData = encryptString(AccData);
    Serial.println (“Encrypted data in base64: ” + String(EncryptData) );
    sendDataoverMqtt(EncryptData,topic);
    JsonObject &healthData = jsonBuffer.createObject();
    healthData[“devId”] = devId;
    healthData[“custId”] = custId;
    healthData[“rss”] = WiFi.RSSI();
    healthData[“heap”] = ESP.getFreeHeap();
    healthData[“vcc”] = ESP.getVcc();
    String HealthData = “”;
    healthData.printTo(HealthData);
    char * EncryptData1 = encryptString(HealthData);
    Serial.println (“Encrypted data in base64 2: ” + String(EncryptData1) );
    sendDataoverMqtt(EncryptData1,topic1);
    digitalWrite(2, HIGH);
    delay(500);
    digitalWrite(2, LOW);
    delay(500);
    delay(4000);
}
void sendDataoverMqtt(String toSend,String tp)
{
    DynamicJsonBuffer jsonBuffer;
    JsonObject &sndData = jsonBuffer.createObject();
    sndData[“devId”] = devId;
    sndData[“pk”] = String(b64data);
    sndData[“d”] = String(toSend);
    sndData[“t”] = millis();
    String d;
    sndData.printTo(d);
    Serial.println(d);
    Serial.println(“publishing topic “);
    client.publish(tp.c_str(), d.c_str());
}
char *encryptString(String StrToEncrypt)
{
    //Encryption data declaration
    char b64data1[1024];
    char decoded[1024];
    byte cipher[1024];
    gen_iv(my_iv); // Generate a random IV
    // Print the IV
    base64_encode(b64data, (char *)my_iv, N_BLOCK);
    int b64len = base64_encode(b64data1, (char *)StrToEncrypt.c_str(), StrToEncrypt.length());
    Serial.println(” Message in B64: ” + String(b64data1));
    Serial.println(” The lenght is:  ” + String(b64len));
    // For sanity check purpose
    base64_decode(decoded, b64data1, b64len);
    //  Serial.println(“Decoded: ” + String(decoded));
    // Encrypt! With AES128, our key and IV, CBC and pkcs7 padding
    aes.do_aes_encrypt((byte *)b64data1, b64len, cipher, key, 128, my_iv);
    Serial.println(“Encryption done!”);
    base64_encode(b64data1, (char *)cipher, aes.get_size());
    return b64data1;
}

Conclusion

In conclusion, this project integrates the DHT11 and MQ135 sensors for comprehensive air quality monitoring, providing valuable insights into temperature, humidity, and pollutant levels. The combination of these sensors enhances the accuracy and effectiveness of data collection, enabling real-time assessment of environmental conditions. Additionally, the implementation of MQTT cloud server facilitates efficient communication and data exchange between IoT devices, ensuring seamless integration and scalability. Moreover, the use of AES encryption adds a critical layer of security, safeguarding sensitive information throughout the data transmission process. Overall, this project demonstrates the potential of IoT technologies in addressing environmental monitoring challenges while prioritizing data integrity and security.

Related Post

Leave a Reply

Your email address will not be published. Required fields are marked *